Start here
GM Quick Start
Create a campaign, add connected content, prepare a session, and invite players.
GM
About 8 minutes
Create your campaign
- Open All Campaigns and select New Campaign.
- Choose a name, description, and visual theme.
- Choose D&D 5.5E (2024), D&D 5E (2014), or D&D 3.5E as the campaign game system. This selects the built-in rules library and can be changed later by the campaign owner.
- Enable D&D Beyond tools only if you plan to import public character profiles.
- Enable a calendar now if in-world dates matter to your game. You can configure it later in Campaign Settings.
- Finish the setup wizard and open the new campaign dashboard.
Build a useful foundation
- Create the locations, characters, and groups that matter in the next session.
- Add short summaries before writing long notes. Summaries make lists and previews useful immediately.
- Connect related entities from their relationship panels.
- Create a quest or story arc to hold the immediate campaign direction.
Best practice
Use consistent names and short summaries first. Add detailed fields only when they support play or sharing.
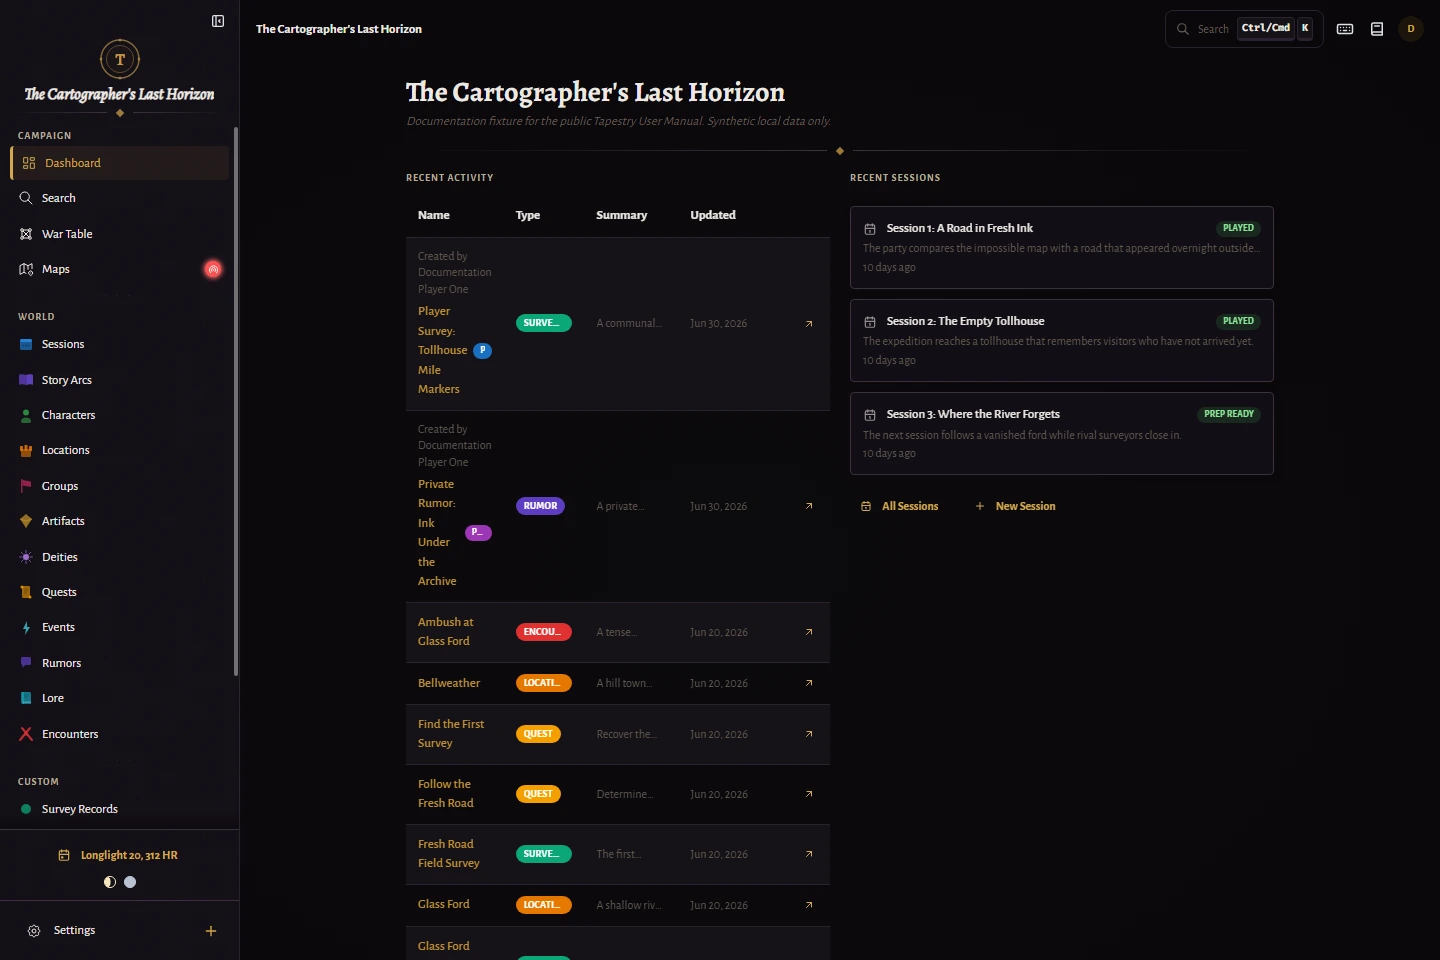
Prepare your first session
- Open Sessions and create the upcoming session.
- Add scenes in likely play order, then capture the beats that matter inside each scene.
- Attach spotlight entities and open threads so important context stays within reach.
- Add or link an encounter if combat is likely.
- At the table, use Run Session for focused scene flow or DM Screen when you need session, combat, travel, shopping, social, and broadcast tools together.
- Log the recap afterward while the details are still fresh.
Invite players safely
- Open Campaign Settings, then Players.
- Enable the player workspace and choose whether join requests require approval.
- Create player groups when different parties should receive different information.
- Send the join link or an invitation.
- Share one test entity, then use View as Player to verify the result.
Important
Never assume an entire entity is shared. Summary, notes, portrait, and custom fields can have different visibility settings.